- calendar_month October 11, 2023
- folder La Life, Local Businesses
Look, times are tough right now so paying more for something we can easily create ourselves is just not in the budget! With these home organization hacks, a little elbow grease, and an imagination, you can transform these affordable, everyday items into beautiful and useful home essentials, and have fun doing it!
Photo Credit: Envato Elements
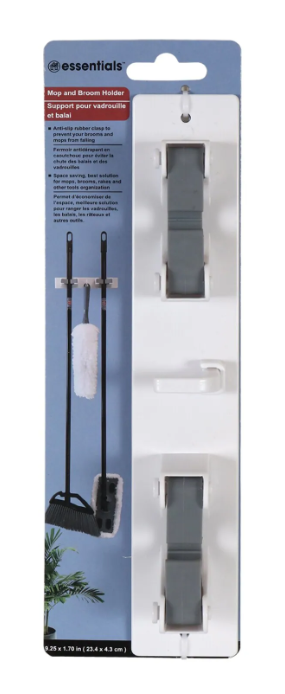
Dollar Tree Mop/Broom Holder
Essentials Anti Slip Mop and Broom Holders
Photo Credit: DollarTree.com
Prepare to be amazed at the variety of uses we found for this household Dollar Tree mop/broom holder. Of course, you can use it for its intended purpose, to hold brooms and mops, but the other variety of possibilities are practically endless! Here are a few ideas to get you started on your budget-friendly home organization hack journey.
1) DIY Curtain Rods
Supplies:
- Essentials Anti Slip Mop and Broom Holder
- Plastic Broom Handle
- Holiday Bulbs
- Spray Paint
- Hot Glue Gun + Glue Sticks
DIY Steps:
- Take a saw or plastic-cutting sheers and cut out the middle, hook section of the mop/broom holder, leaving you with 2 separate rubber holders.
- Twist off the end of the broom handle, leaving you with a clean symmetrical tube.
- Spray paint the holder pieces along with your broom handle using the color of your choice. (Optional)
- Remove the backing off of the broom-holder pieces you’ve already cut/painted and secure to your wall in the location you plan to hang your curtain rod.
- Hot glue some old (or new) holiday bulbs to each end of the broom stick.
- Slip your curtains onto the plastic rod and simply press the rod into the rubber holder sections and voila! You’ve got yourself a super fast, low cost curtain rod.
2) Hot Tools Cabinet Storage
Supplies:
DIY Steps:
- No cutting or extra steps involved! Simply peel off the backing, secure the piece to your inner cabinet wall or door, and you’ve got a space-saving holder making your styling tools organized and easily accessible.
3) Hanging Supplies Display
Supplies:
DIY Steps:
- With a saw or cutting sheers, cut out the middle, hook section of the mop/broom holder, leaving you with 2 separate rubber holders.
- Unscrew the wooden dowel handle from the rubber plunger and prepare a space for spray painting (we recommend outside or in a well ventilated area).
- Spray each of the pieces with your desired color and let dry for the recommended amount of time.
- Once finished, peel the backing from the mop/broom holder pieces and press in your desired location, keeping in mind the width of the plunger dowel.
- Press the plunger dowel into the rubber holders and hang your S hooks over the dowel.
- Hang your supplies like tape, scissors or even small hanging baskets of your choice and you’ve got yourself a cool supply display for your craft room, kitchen, garage, or wherever else you can imagine!
Dollar Tree Wire Racks & Baskets
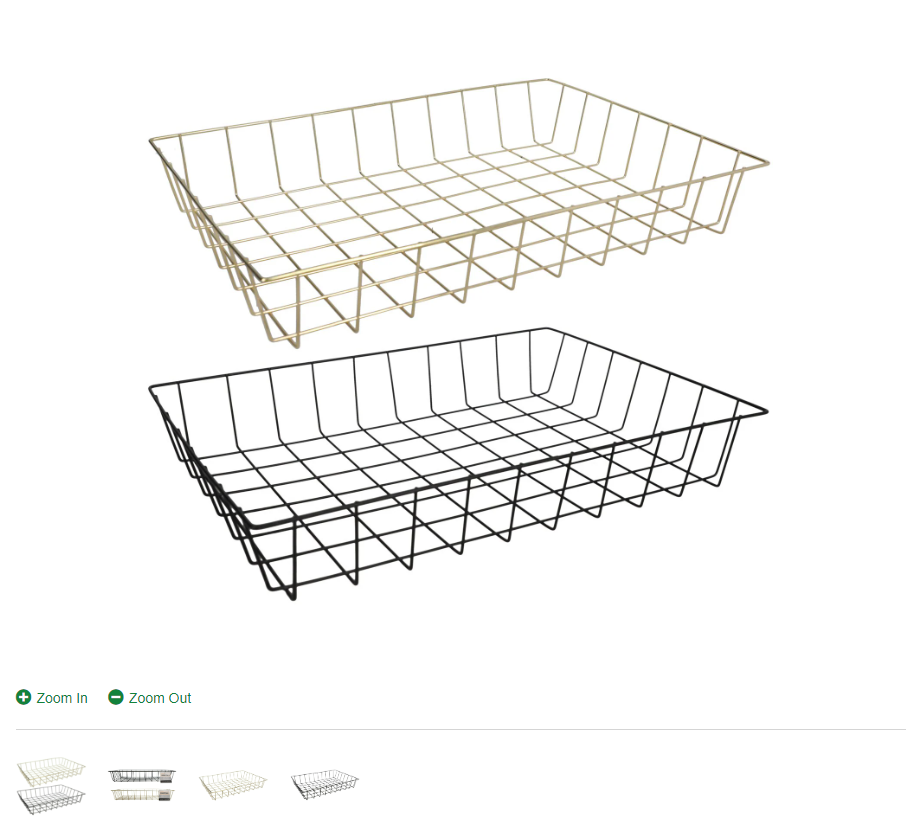
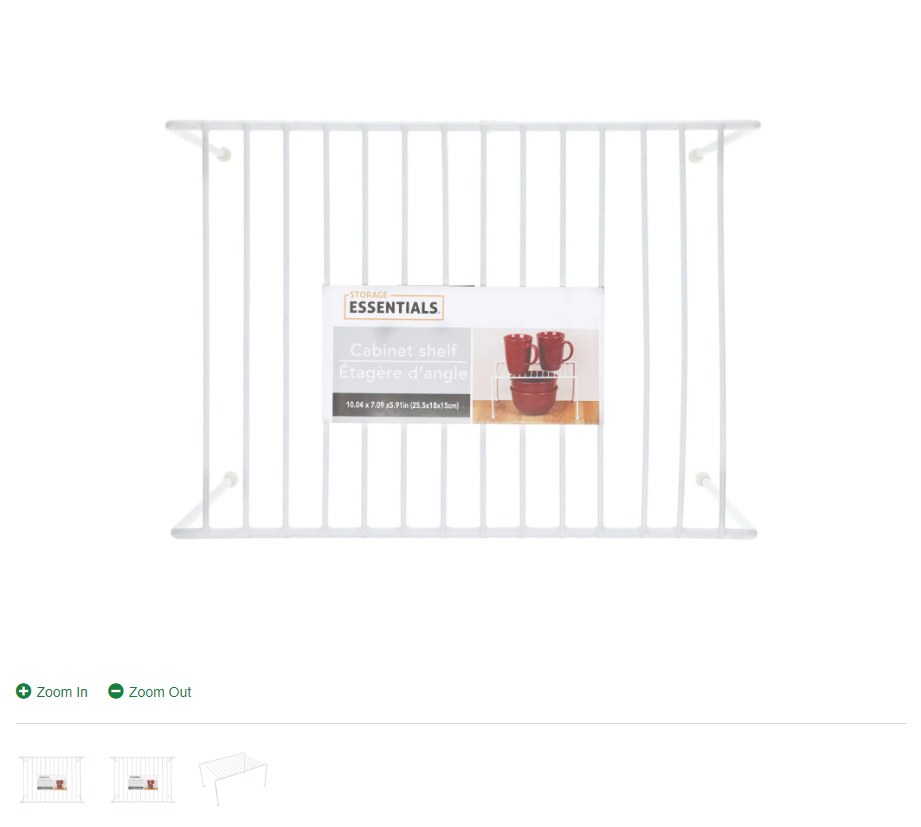
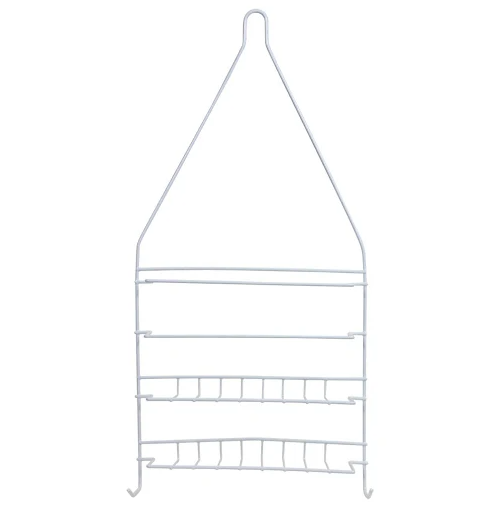
Dollar Tree: Essentials Wire Gold Trays, Essentials Wire Cabinet Shelf, Wire Shower Caddy
These wire pieces from the Dollar Tree can be stacked, hung, and reshaped into a variety of new uses. The creativity that inspired these home organization hacks are sure to impress, and you’ll be shocked at how easy they are to achieve.
Photo Credit: dollartree.com
Photo Credit: dollartree.com
Photo Credit: dollartree.com
1) Hanging Jewelry Display
Supplies:
DIY Steps:
- Open plastic hooks, peel off the backing and stick onto your desired wall area, wide enough to properly hold the baskets in place.
- Secure wire basket on hooks and begin using them as earring holders, jewelry box storage, or any other fun uses you can come up with.
2) Pan and Lid Organizer
Supplies:
DIY Steps:
- Interlock 2 wire shower caddies as shown in the video above.
- Secure caddies together with zip ties and cut excess zip tie slack.
- Place in cabinet, or wherever you’d like, and you’ve got quick and easy storage for pans, lids, plates and more!
3) Countertop Toiletries Display
Supplies:
- Nylon Cable Zip Ties
- Essentials Wire Cabinet Shelf
- Essentials Wire Gold Trays
- Decorative Shelf Liner
- Spray Paint
- Recycled Cardboard Box
- Scissors or Utility Knife
DIY Steps:
- Starting with your wire tray, flip the tray upside down and secure the wire cabinet shelf using zip ties.
- Now that your stand is secured, spray paint in a well ventilated area using your desired color and let dry completely.
- Measure the height and width of the base of your wire tray and draw a corresponding-sized rectangle onto your recycled cardboard.
- Cut out the cardboard rectangle and place on top of your rolled out shelf liner.
- Trace a rectangle onto the shelf liner using the cardboard piece as a guide. Leave about 1-2 inches of space around the perimeter so that you can fold the liner around the back of the cardboard piece.
- Place the covered cardboard on top of the wire tray, and now it’s time to display your perfumes, colognes, and any other items you want to show off!
4) Towel Rack
Supplies:
DIY Steps:
- Interlock 2 wire cabinet shelves and secure using zip ties (cut excess zip ties).
- Remove the rubber stoppers from the ends of the shelf legs (optional).
- Bend the shelf legs upwards on a slight angle.
- Spray paint the entire unit with your desired color.
- Stick plastic hooks on the wall wherever you’d like to hang your rack and insert the rack onto the hooks.
- Roll your bath towels however you’d like and place them on the rack for a beautiful towel display!
Dollar Tree Napkin Holders
Cooking Concepts Wire Napkin Holder
The metal Dollar Tree wire napkin holders are ever so popular when it comes to DIY home organization hacks! Recently trending on TikTok, these holders have taken over the DIY – home décor community, inspiring content creators and viewers to come up with a ton of new uses for these affordable objects.
1) Mail Stand
Supplies:
DIY Steps:
- Simply place 2 or more napkin holders against each other with the open side facing up.
- Secure together with zip ties, cut off excess and that’s it! A super easy mail and stationary holder.
2) Wall Art & Record Display
Supplies:
- Wire Napkin Holder
- Acrylic Polyester Yarn or any cord/yarn of your choice
- Plastic Removable Wall Hooks
- Hot Glue Gun + Glue Sticks
DIY Steps:
- Wrap yarn or fabric cord of your choice around the napkin holder. Get creative with colors and textures or keep it simple!
- Secure yarn with hot glue or add decorative knots, braids, or tassels.
- Stick a plastic wall hook wherever you plan to hang your art/record display.
- Hang the top of the holder onto your plastic hook, then add another hook, upside down over the bottom wire to secure the base of the display.
- Place your picture frames, art, books, records, etc. onto the holders and you’ve transformed your empty wall space into a useful and trendy display.
4) Paint Tube Storage
Supplies:
DIY Steps:
- Fasten 2 napkin holders at the base of the paper towel stand with zip ties and cut off excess zip tie slack.
- Repeat the process above another time with napkin holders stacked on top of the first two.
- Spray paint entire structure with a color of your choosing in a well ventilated area and let dry completely.
- Place your paint tubes through the open space of the holders. Not only do you have a beautiful new paint display, you can easily see your colors and grab the paints needed with no hassle!
We hope this inspired you to try some new things and put your own creative spin on these amazing home organization hacks! With such a simple and budget friendly list, we’re sure these will make your life a little easier!


